Servo motor (RC) control using LabVIEW
- Subscribe to RSS Feed
- Mark as New
- Mark as Read
- Bookmark
- Subscribe
- Printer Friendly Page
- Report to a Moderator
Code and Documents
Attachment
Requirements:
1. RC / Hobby aircraft servo motor
2. Compact RIO controller + chassis
3. 5 V power supply ( Voltage depends on the Servo motor rating)
4. Digital output module
5. Wires to make a few connections
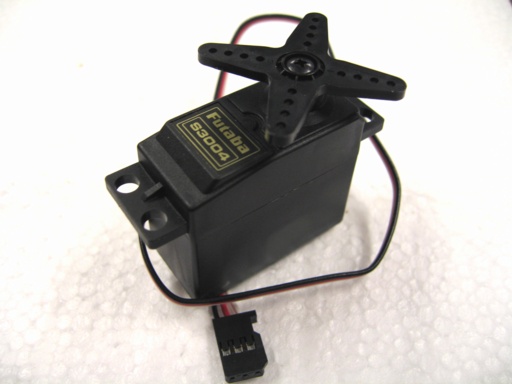
Servo Basics (Hobby / RC motors)
A servo motor consists of the motor and gearbox, a position sensor, an error amplifier and motor driver and a circuit to decode the requested position. The radio control receiver system (or other controller) generates a pulse of varying length approximately every 20 milliseconds. The pulse is normally between 1 and 2 milliseconds long. The length of the pulse is used by the servo to determine the position it should rotate to.
Many microcontrollers are equipped with PWM generators. Unfortunately they are not really suitable. The problem is that we need a relatively accurate short pulse then a long delay. We need something in the order of 5% to 10% duty cycle (1ms/20ms to 2ms/20ms). By making use of the power of FPGA on the compact RIO, we can easily control the servo motor.
Pulse data
Generally servos require 3-5V peak to peak square wave pulse. Pulse duration is from 0.9mS to 2.1mS with 1.5mS as center.
The pulse refreshes at 50Hz (20mS).
So, 0.9mS corressponds to -Angle and 2.1mS corresspond to +Angle. (Check the data sheet of motor. Generally they are -45deg to +45deg)
Any pulse in between these ranges will cause a corressponding linear interpolated angular shift.
Caution: Please refer the data sheet for additional requirements and safety precautions of the voltage ratings of the motors. They vary with different models and manufacturers.
Connections
The servo motor will have 3 terminals a) Signal b) Positive c) ground
Connect the Signal to Digital output chanel of your DO module on the Compact RIO
Connect the Postive to the Power supply as per the specifactions
Connect the ground to the DO GND and the Power supply Ground
Also the DO module might require external power supply to generate the pulse, so connect the same power supply to the the VSUP terminal of the module.
Make sure all connections are tight and no short circuits are present.
Exceeding the voltage limits or pulse duration might cause permananent mechanical or electrical damage to the motors.
Running the VI
Connect the compact RIO to your PC and assign the IP address and install the softwares on the compact RIO
You can find how to do that here.
Open the Servo project and rename and assign the correct IP address.
If you are using a different chassis than the one in the project you need to change that manually.
You might need to change the values depending on your model and manufacturer. It depends on the pulse durations mentioned.
Open the Servo.vi and just run it. First time it will take some time to compile the code on FPGA. Once compilation is done the code will run automatically.
Adjust the angular postion and the postion of the servo motor arm should vary.
Developed by : Shreyas Hebbare
Example code from the Example Code Exchange in the NI Community is licensed with the MIT license.
- Mark as Read
- Mark as New
- Bookmark
- Permalink
- Report to a Moderator
Thank you 
- Mark as Read
- Mark as New
- Bookmark
- Permalink
- Report to a Moderator
Can you give me a list of specific NI hardware (with part numbers) needed to do this?
Thanks
- Mark as Read
- Mark as New
- Bookmark
- Permalink
- Report to a Moderator
I can't get it to go to the same position consistently. Can someone help?
- Mark as Read
- Mark as New
- Bookmark
- Permalink
- Report to a Moderator
Thanks for your help , but i'm in need to use the I2C connection with the Myrio so may you please give me a tips to control my countinous servo motor .
thanks , appreciate .
- Mark as Read
- Mark as New
- Bookmark
- Permalink
- Report to a Moderator
For the I2C drivers you may have to do a search, I haven't looked at that but I believe they are out there somewhere.
- Mark as Read
- Mark as New
- Bookmark
- Permalink
- Report to a Moderator
well me to i search every where youtube , officals website of the NI ... I
need that I2C cause they oblige me to work with two driver HITechnic Dc
motor controller for TETRIX .
Thanks , best regards .
