Overview
This example demonstrates writing data with header information to a text file.
Description
This example creates an array of data from random numbers. Then the array of data is converted to a tab delimited string. This string is then combined with a string containing date and time information. A shift register, initialized with the header information, is used to accumulate the data while the loop is running. After the while loop terminates, all of the data get written to a text file.
Requirements
LabVIEW 2012 (or compatible)
Steps to Implement or Execute Code
1. Run the attached VI
2. You will be asked to choose the file where you want to write data. Select the file and click ok.
3. After running for few seconds, stop execution and navigate to the directory where you stored the file.
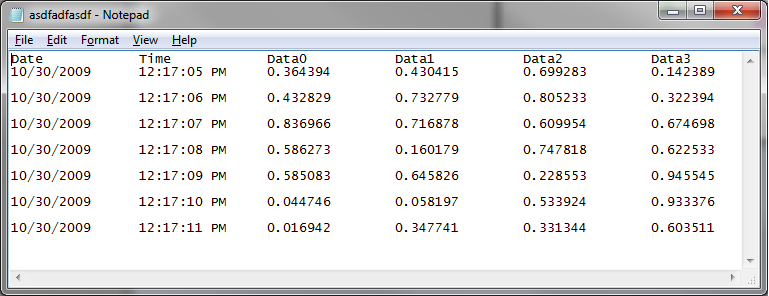
4. Notice how the header is being written
Additional Information or References
Note the use of '\' Codes Display in the string constant array wired to the input of the shift register. The '\' determines a formatted string for example '\t' is tabulation.
Also note that if the code will run for an extended amount of time you may run into full memory issue and LabVIEW will crash. This is due to storing continuously the data in the array which is increasing in size every iteration. After a while the RAM will be full. To overcome this problem, it is recommended to write each row at a time inside the loop and the header outside the loop. In this case you will need to wire the end of line manually. You can refer to the screenshot "Block Diagram for Extended Execution" for more information.
Block Diagram

Data Text File
Block Diagram for Extended Execution

**This document has been updated to meet the current required format for the NI Code Exchange. **
