Turn on suggestions
Auto-suggest helps you quickly narrow down your search results by suggesting possible matches as you type.
Showing results for
Document Options
- Document History
- Subscribe to RSS Feed
- Mark as New
- Mark as Read
- Bookmark
- Subscribe
- Printer Friendly Page
- Report to a Moderator
Document options
- Subscribe to RSS Feed
- Mark as New
- Mark as Read
- Bookmark
- Subscribe
- Printer Friendly Page
- Report to a Moderator
Web Configuration Utility Installation Instructions
Getting Started
The Wireless & Ethernet DAQ Web Configuration Utility installs a web server on your NI WLS-9xxx or ENET-9xxx DAQ device from which you can manage your device and network settings. To begin, you will need the new 9163 firmware image and NI-DAQmx 8.9 (or later). Once installed on the device, you do not need MAX or NI-DAQmx to configure your network settings.
Step-by-Step Installation Guide
- Download the Web Configuration Utility from NI Labs and unzip the contents to a temporary folder.
- Run the setup.exe file and accept the license agreement(s).
- Complete the installation wizard. No reboot is required.
- Launch Measurement & Automation Explorer and select your WLS-9xxx or ENET-9xxx device from "Devices and Interfaces" If you have not added or configured your device yet, please refer to the NI WLS/ENET-9163 Getting Started Guide.
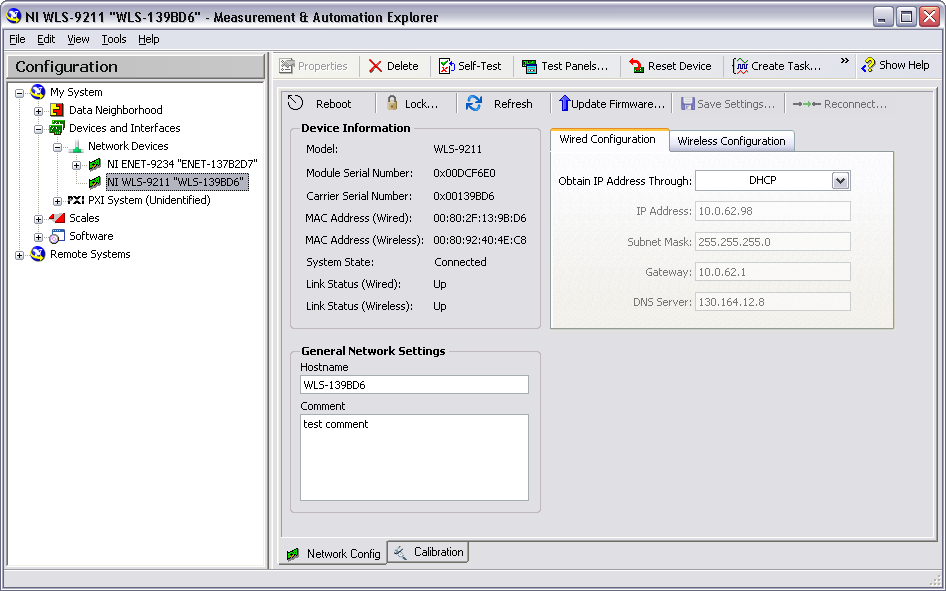
- Click the "Update Firmware" button
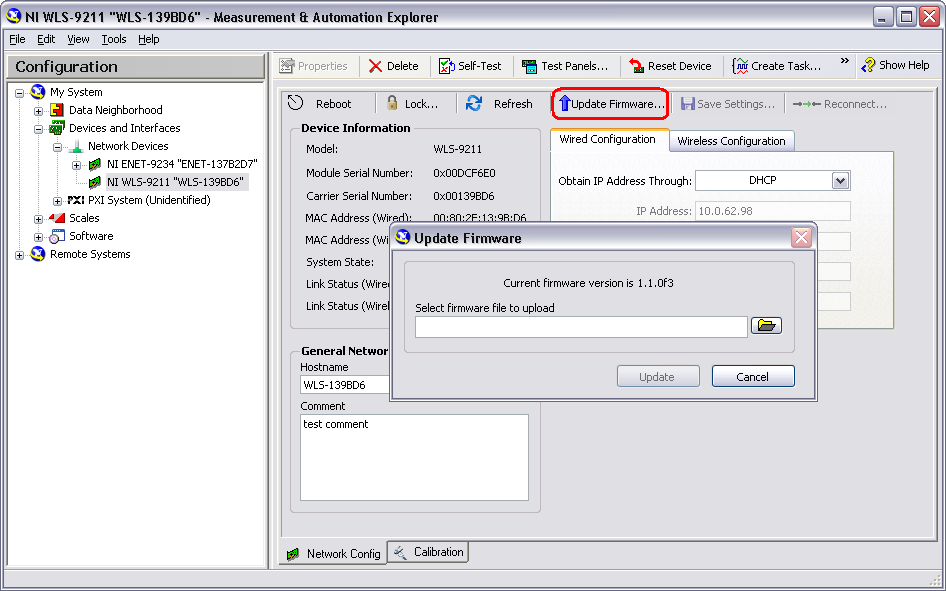
- Click the folder button. The file dialog will default to C:\Program Files\National Instruments\NI-DAQ\fpgafiles\mionetwork\ni9163 Browse to the "Web Config" folder

- Select the xxxxxxx.cfg file and click OK

- Click the "Update" button
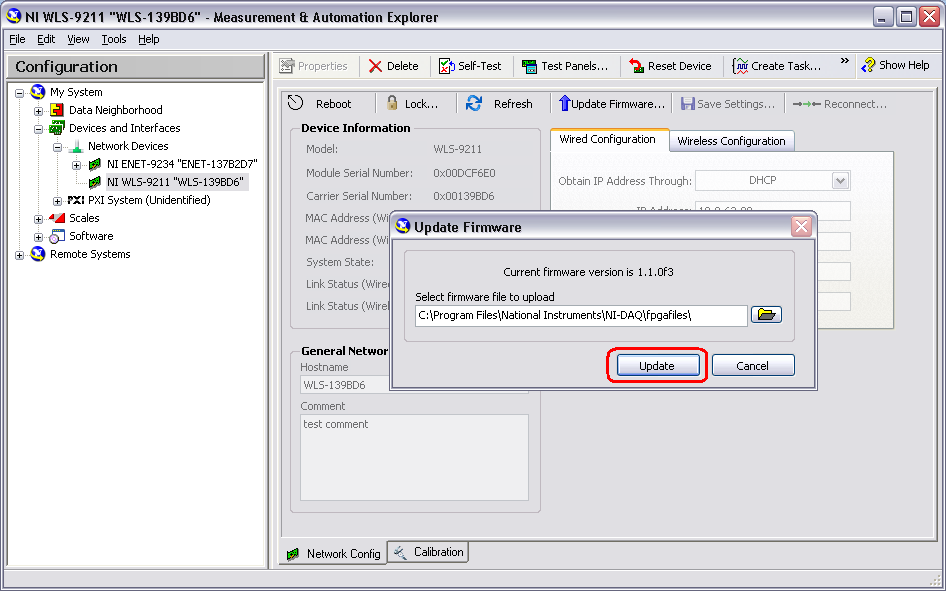
- The firmware update process may take several minutes to finish. When it is complete, the WLS/ENET-9xxx will reboot. You may need to refresh the screen in MAX (press F5) to verify that the reboot process is complete.
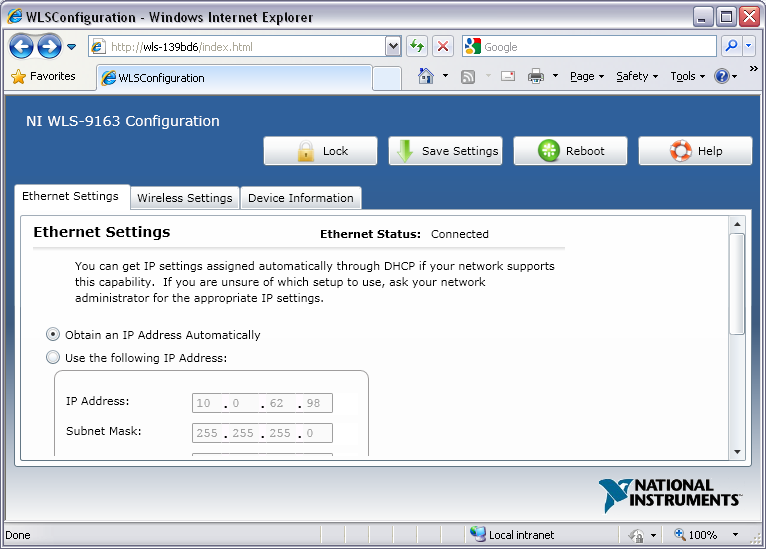
- Open a web browser and type "http://WLS-xxxxxx/index.html" into the address bar. If your network’s DHCP server is not set up to automatically register hostnames, you may have to enter the IP address instead of the WLS-xxxxxx or ENET-xxxxxx hostname; for example, "http://xxx.xxx.xxx.xxx/index.html". Check with your network administrator if you are unsure of the IP address for your device.

- If you have the Silverlight plugin already installed for your broswer, skip to step 12. Otherwise, you will see a screen similar to the one below.
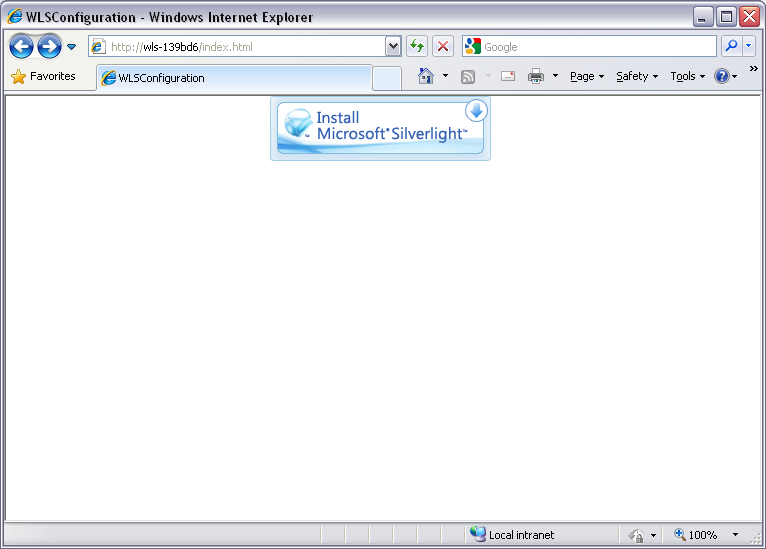
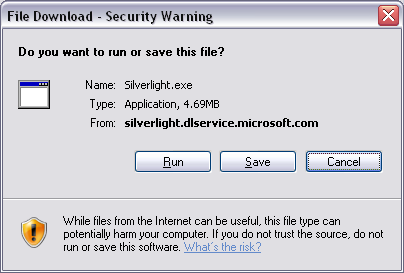
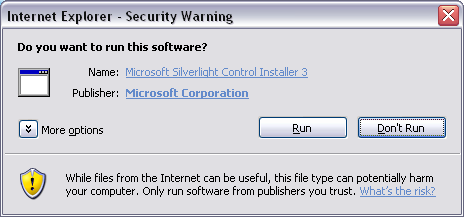
- Click the "Install Microsoft Silverlight" button and accept any warning messages from your browser.
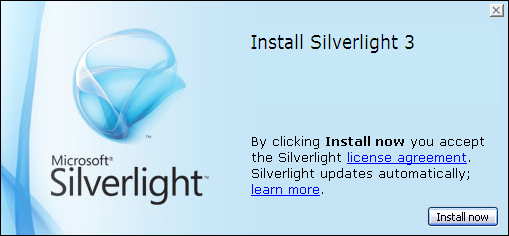
- Click "Install now" to install the Silerlight plugin.
- When the Silverlight installation is complete, you may need to refresh your browser (press F5). The Web Configuration Utility will be loaded as shown below.
Additional Resources
Online Web Configuration help
NI WLS/ENET-9163 Getting Started Guide
NI WLS/ENET-9163 User Guide and Specifications
